
Photographs speak volumes. As we’re often told—“1,000 words.” Yet, small businesses need to be attentive to what their product photography is saying. A high-quality professional website needs top-notch product photos. Yet you may not have the budget for a photographer. So, this article shares several tips to take professional product photography on your own.
There is no doubt ours is a visual age. And it’s only getting more so. People already have greater recall of what they see than what they read (80% versus 20%). Then, there’s the digital evolution to search using images. Instead of typing in keywords, users can snap a photograph and expect the internet to match that item to product photos at online retailers.
Plus, consumers are going to be judging the quality of your product and the credibility of your site based on the images on your business website. If the product photography disappoints, that buyer will quickly go elsewhere to make a purchase.
The good news? You don’t need a degree in professional photography to do quality product photography. Of course, working with a pro will help. But, when you’re also building a professional website and growing your business, you may not have the budget for someone with that skill set. This article’s professional photography tips can help. We’ll cover:
- Setting up a photography studio
- How to take product photos
- Basic photo editing tips
- How to use the photos to drive sales

Setting Up a Photography Studio
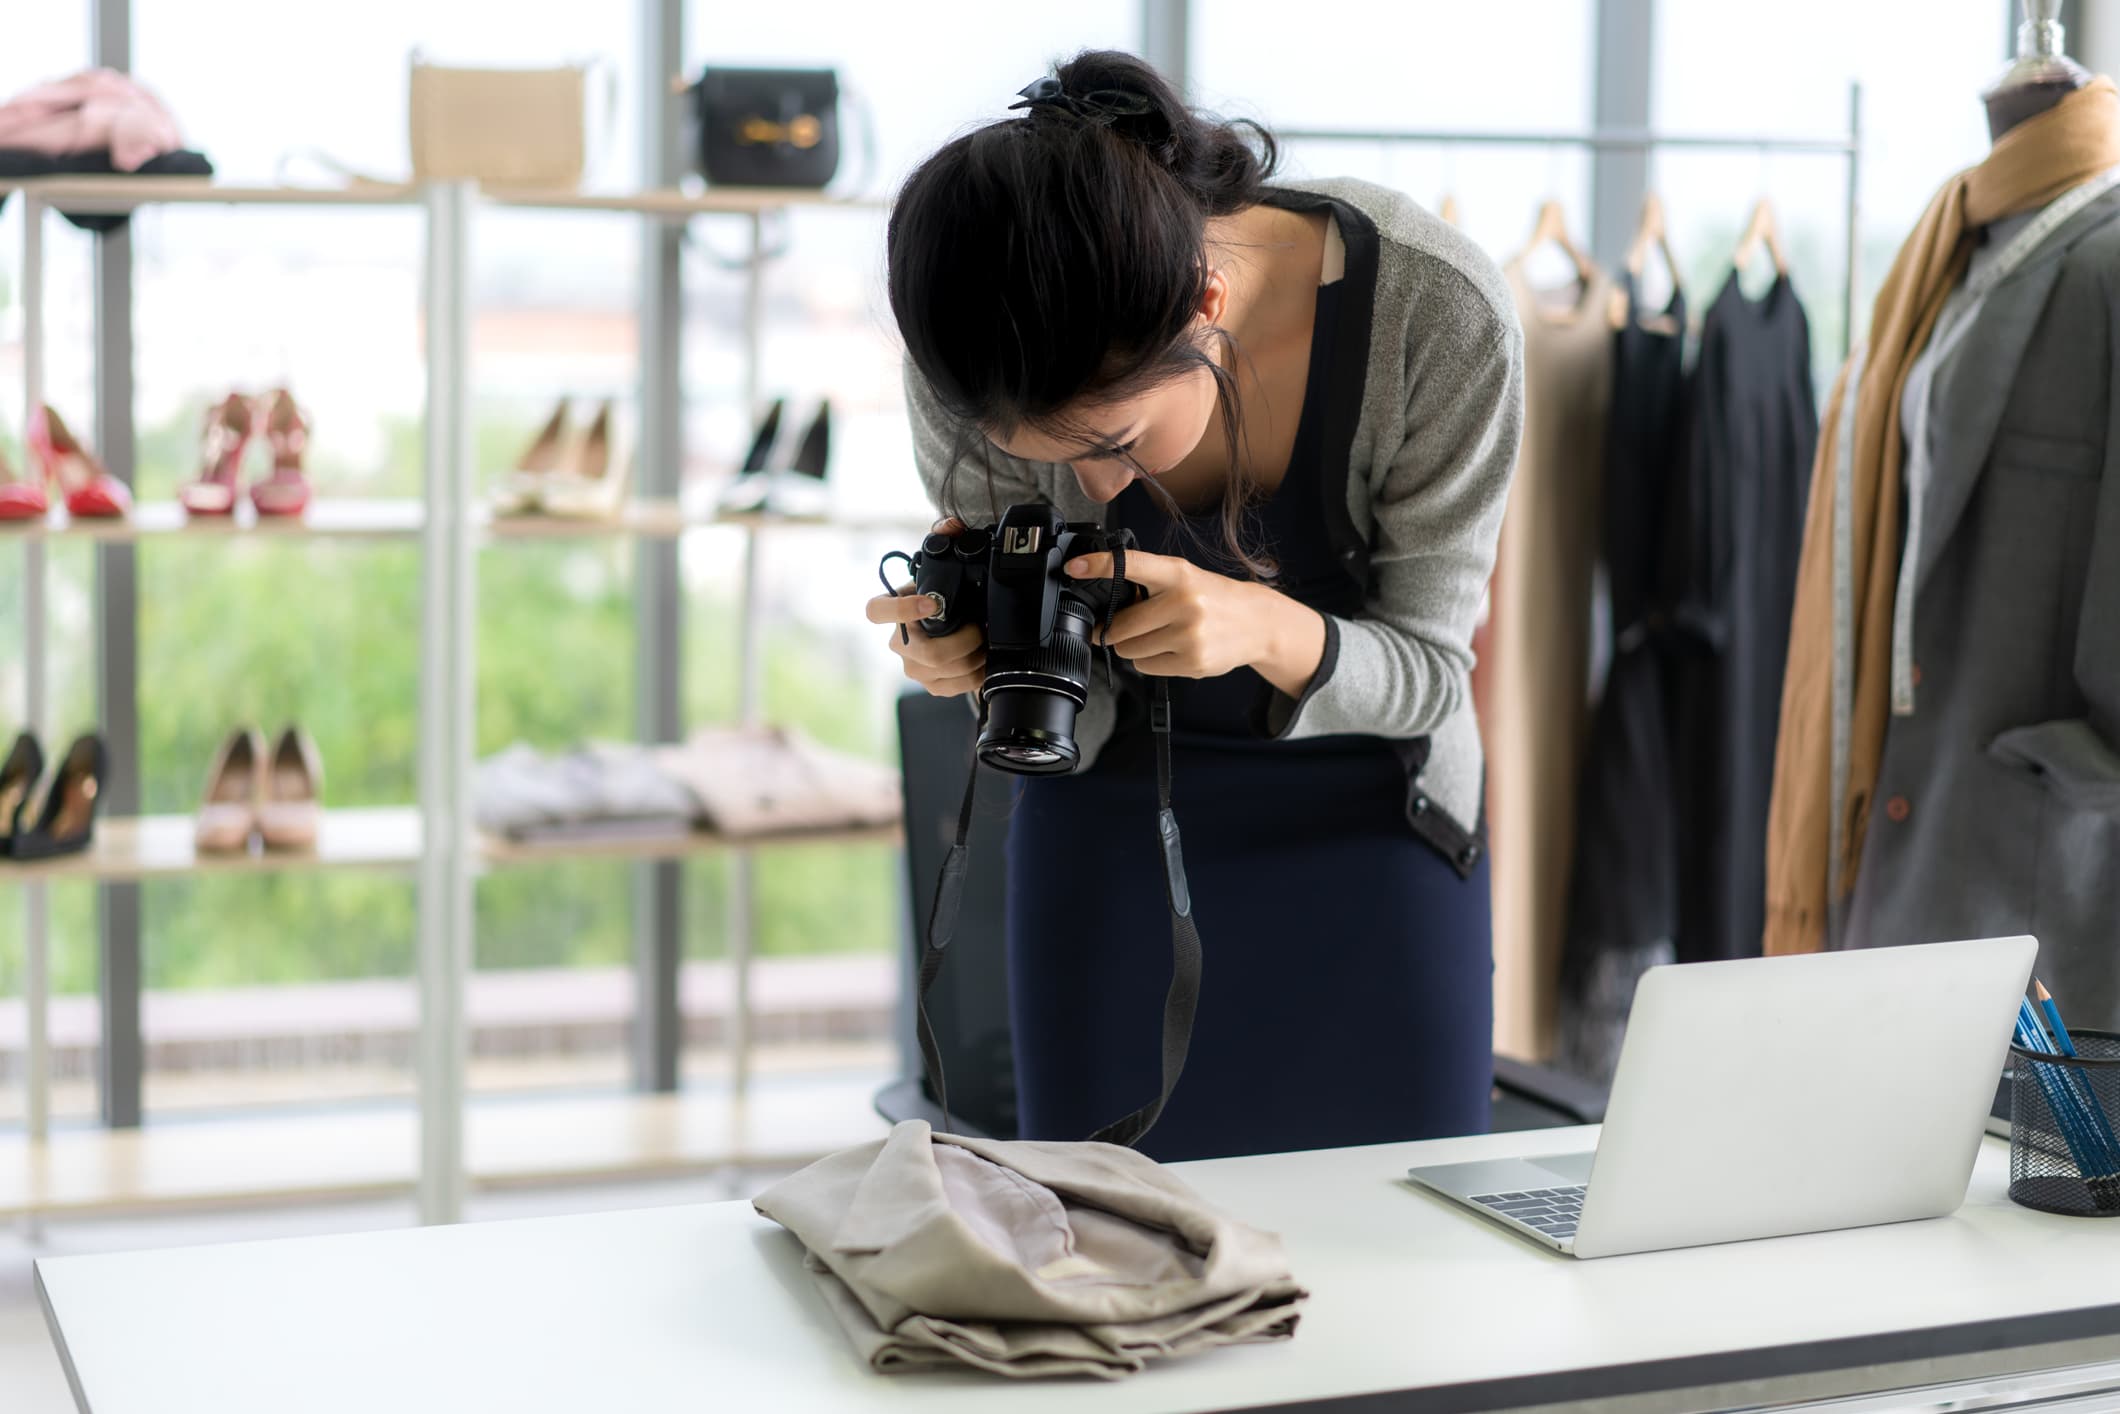
Product photos influence buyer decisions. Don’t be casual about your product photography. Start by setting up a small studio area to take your images. No, you don’t need to get actual separate real estate for this purpose. Instead, you can set up a space at your existing business (even if that’s just the basement right now) to take the best product photographs you can. You’ll need:
- A camera (duh)
- A table on which you can place the products
- A background
- A room with a window (if you’re going the natural light route)
- A lightbox or light tent (here’s how to set one up on a tight budget)
Depending on the product, you may also need glue dots or tape to fix the item in place. For clothes, investing in a mannequin instead of hangars can help too.
Investing in a decent tripod, which doesn’t cost a lot, can really improve the consistency and stability of your product photos.
How To Take Product Photos

Keep it simple. Yes, that age-old advice again. You want product photography to be minimal and focused on the item you’re selling.
Set up a sweep. A sweep takes away the horizontal line in the image. You might use flexible posterboard, rolls of paper, canvas, or other fabric to have the background go from horizontal to vertical. Happily Ever Aperture offers a DIY sweep how-to.

Be consistent. The buyer wants to scroll quickly through multiple images. Make it easier for them by taking all product photos in the same way and conditions. Establish a consistent template for how you will set up, layout, and light your products.
Take multiple angles. Since the buyer can’t see the item in person, it is easier for them to get a full sense of the product. This means taking close-ups and offering images from different angles. Angles to try include:
- Eye-level
- High angle
- Low angle
- Bird’s eye
Tip: Google recommends the main image should be a full product image. Use your back views or close-ups as additional images.
Use a brand-relevant background. A lot of online product photography has a solid white background. You can stand out by using color. You might find a piece of fabric in your brand color scheme and take all your photographs in front of that background.
Consider lifestyle/context photos too. You might want to show your product in context as well. If you’re selling surfboards, it can help your buyer to see them at the beach. Or a child’s stuffed animal might sell more if seen in the embrace of a cute kid.
Basic Photo Editing Tips
With 93% of consumers considering visual appearance the key deciding factor in a purchasing decision, obviously, product photography matters.
With basic photo editing software, you’ll be able to touch up your photos for more professional results. Here’s where you can remove flaws, correct quality, address blur, add shadows for a more natural look.
Edit the photo to ensure that you have the best image you can without sacrificing download speed. Be careful about the size of the image. If it takes more than two seconds to load, the buyer will bounce. This, in turn, hurts your search ranking. Typically, you’ll use a JPEG file as it is a smaller size file that still offers the high-quality image you need without disrupting page load.
Image compression is a useful technique to reduce image size with limited impact on quality. But, if you over-compress the file, the image can appear more pixelated, too dull, or out of focus.
Tip: Don’t edit the image so much that it no longer looks like the product for sale. According to Weebly research, “22% of online product returns are because an ‘item looks different than the photos.’”
As part of image optimization, save the image with descriptive alt text (to help the search engines know what is in the photo and make your site more accessible). Also, name the image clearly, concisely. Yes, “image1” is short, but it doesn’t say anything useful. Instead, use something more descriptive like “girls-Aline-dress-pink.”

How To Use the Photos To Drive Sales

Imagery is an essential part of web design for small businesses. eBay research found:
- Product images “help increase buyer‘s attention, trust and conversion rates.”
- Listings with one image had twice the conversion rates of listings with zero images. Conversion rates doubled again for listings with two images versus only one.
- As photo count increases, the probability of making a profit also increases.
- Higher-quality images were correlated with more successful sellers.
Ultimately, people are not going to spend long on a text-heavy site. Incorporate your product photos into your website design in a way that highlights top sellers and new product launches upfront. You’ll also want to have a catalog of product photos available so that potential buyers can see anything that interests them before they “add to cart.”
Tip: Make sure that your website hosting offers the space you need to keep quality product photography on your business site without slowing down the user’s experience.
Product images have value beyond the professional website too. You should also be using photos in your digital marketing efforts. A good product photo can be used in display ads, social media, blogs, and more.
Selling online requires strong visuals. Your product quality and the credibility of your brand count on high-quality product photography. This article’s strategies can help you post product photos to your business website that look professional and help drive your sales success. Learn more about website design for small businesses!


