Starting a WordPress blog is simpler than you think, even if you’re not tech-savvy. You can get your blog live for as little as $50–$150 in your first year, and it takes less than an hour to set up. The best part? WordPress gives you full control over your content and design.
Below, we’ll cover everything you need to know: picking hosting, installing WordPress, choosing a theme, and more – all explained step by step.
Step 1: Choose Web Hosting and Register a Domain with Turbify
How Web Hosting and Domains Work Together
Your domain is like your blog’s address – the name visitors type into their browser to find you. Web hosting, on the other hand, is the storage space where your blog’s files, images, and content live. Think of it this way: the domain is your street address, and hosting is the house where all your belongings are kept. Without hosting, your WordPress blog has nowhere to exist online.
When you register a domain and purchase hosting together, the provider connects them so visitors can easily access your blog. For a self-hosted WordPress.org blog, having both gives you complete control over design, plugins, and monetization. Choosing a reliable provider like Turbify ensures a smooth start.
Why Turbify Works Well for Small Business Owners
Turbify simplifies the process for small business owners by offering everything you need in one place. It combines hosting, domain registration, business email, and marketing tools, so you don’t have to juggle multiple vendors. With more than 25 years of experience and a 99.99% uptime guarantee, your blog will stay online and accessible at all times.
Every hosting plan includes a free SSL certificate, which secures visitor data and displays the HTTPS padlock in browsers. Plus, Turbify provides 24/7 security monitoring and DDoS protection to keep your blog safe from cyber threats. You also get professional business email addresses that match your domain, adding a polished touch to your communications.
If you’re new to blogging, Turbify offers tools like the WordPress Toolkit and a cPanel interface to make managing your site straightforward – even if you’re not tech-savvy. As your blog grows, the platform scales with you. Start with shared hosting for $3–$10 per month, and when your traffic increases, you can upgrade to more advanced options without switching providers.
How to Register a Domain and Hosting on Turbify
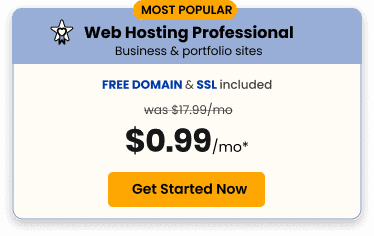
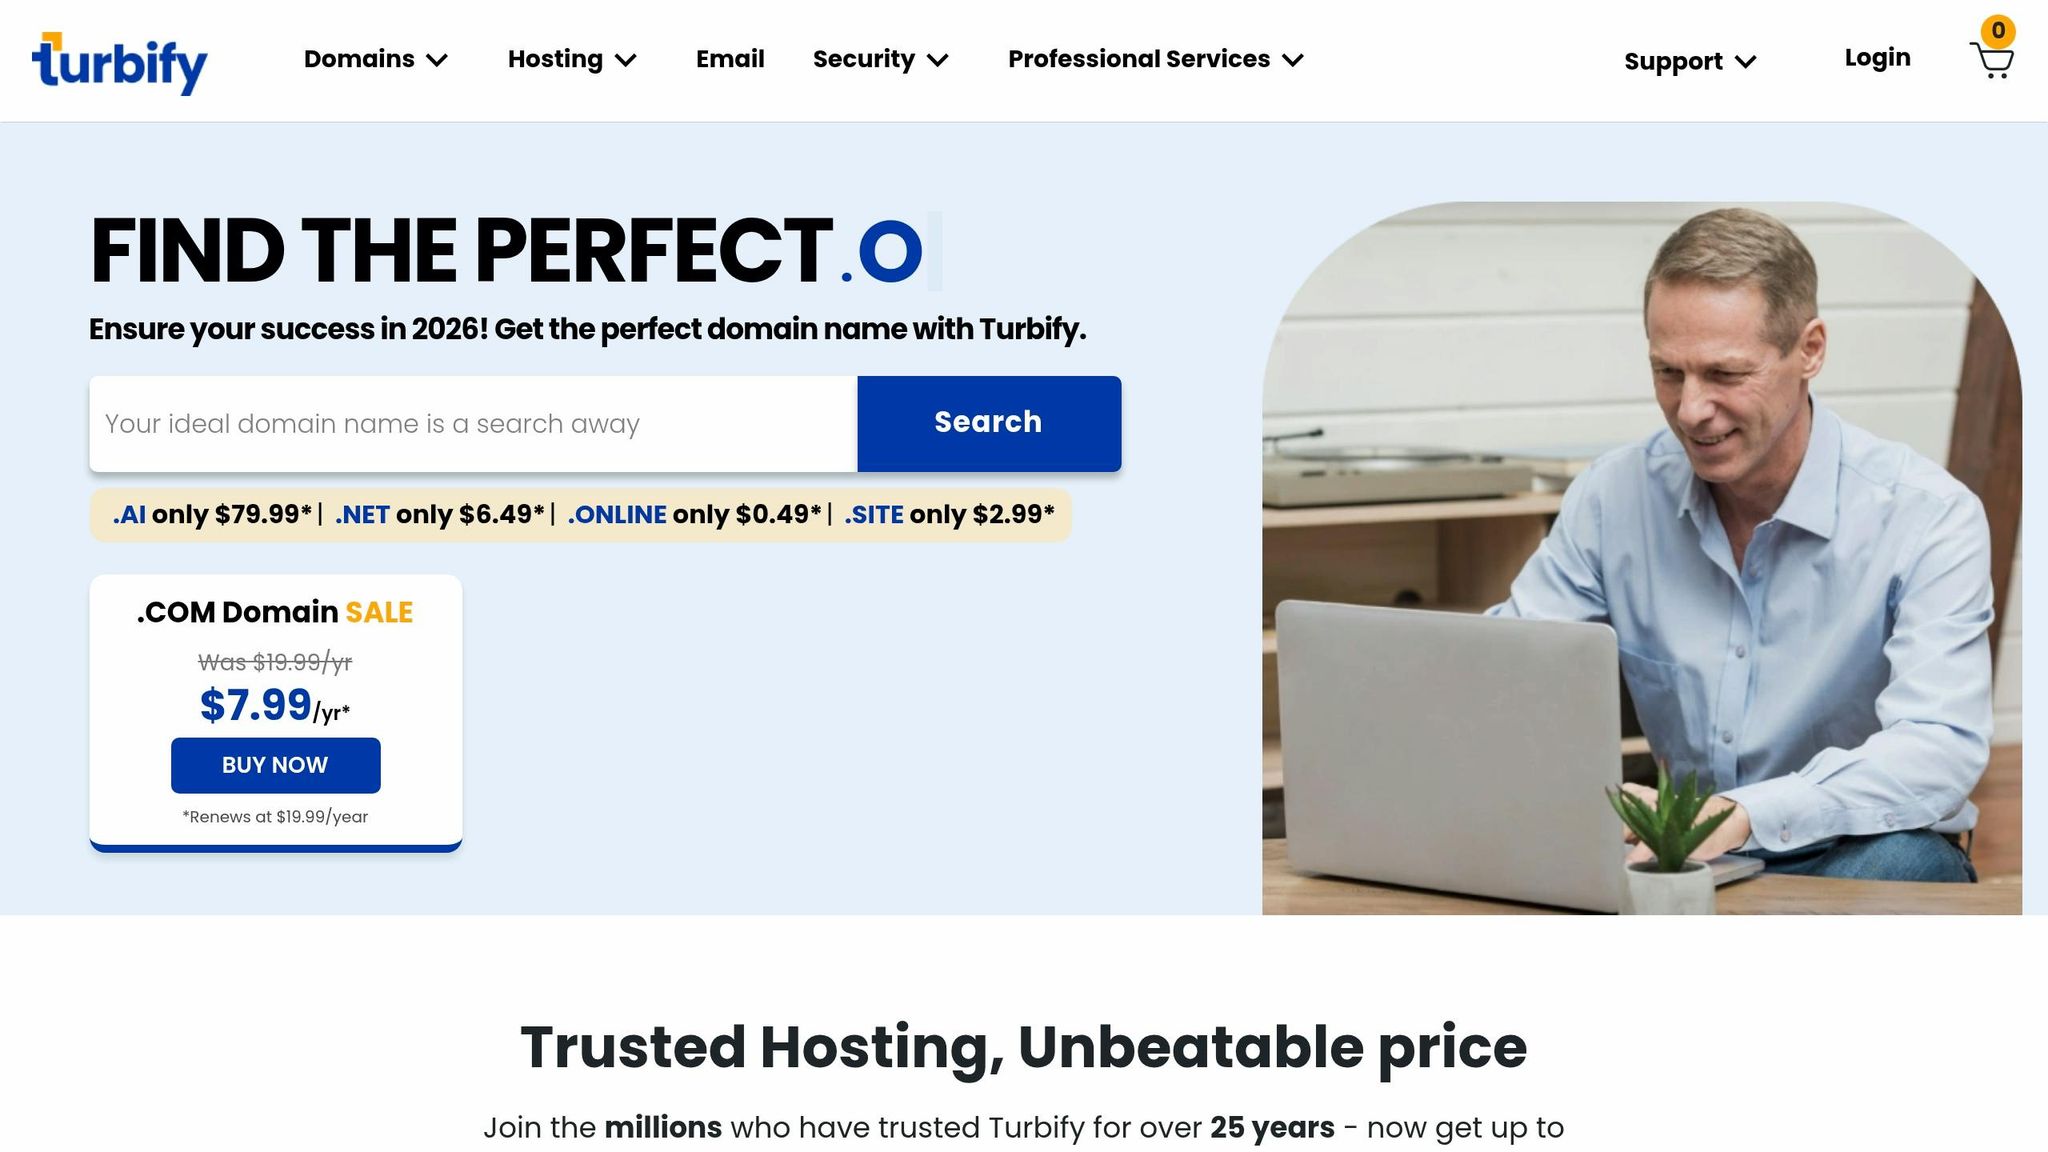
To get started, head to the Turbify website and select either “WordPress Hosting” for easier blog management or “Web Hosting” if you prefer more control with cPanel. During checkout, you’ll have the option to register a new domain that’s memorable and reflects your business, or connect an existing domain. Many plans include the first year of domain registration for free, saving you the typical annual fee. For instance, .COM domains start at $7.99 per year, while .ONLINE domains can cost as little as $0.49.
Once you’ve made your purchase, Turbify takes care of the setup for you, including configuring your SSL certificate and business email. The whole process usually takes just 15–20 minutes. If you run into any issues, Turbify’s 24/7 support team is available via email, chat, or phone to help you out.
sbb-itb-7459f5e
Step 2: Install WordPress on Your Hosting Account
How to Use Turbify’s One-Click WordPress Installer
Turbify makes setting up WordPress quick and easy, even if you’re not tech-savvy. Their cPanel installer handles the entire process in under 3 minutes, so you don’t have to deal with coding or complicated steps [4].
Start by logging into your Turbify control panel. Look for the “WordPress” icon in the cPanel and click it. From there, select Install Now. You’ll need to fill in some basic details like your domain name, site title, admin username, password, and email address.
Here’s a key tip: avoid using “admin” as your username. According to ZeroToWP:
“admin is the first username that bots try when they attempt to brute-force their way into WordPress sites… This one change eliminates an entire category of attacks” [4].
Instead, choose something unique, like your first name, a nickname, or even part of your email address. For your password, use a tool like Bitwarden or 1Password to create and securely store a strong password of at least 12 characters.
Once you’re ready, click Install. In just a few minutes, you’ll see a confirmation screen with a link to your WordPress dashboard at yourdomain.com/wp-admin. Your site will also be automatically secured with HTTPS. From here, you can move on to fine-tuning your WordPress settings.
Initial WordPress Setup for Beginners
Now that WordPress is installed, it’s time to set up some key settings to ensure your site runs smoothly and looks professional. These adjustments will improve SEO, security, and overall usability [4].
Start by going to Settings > General in your WordPress dashboard. Update the default tagline with something unique about your site, and don’t forget to set your local timezone. Many WordPress sites leave the default tagline in place, which can make your site look unfinished.
Next, head to Settings > Permalinks and select Post name. This will create clean, easy-to-read URLs like yourdomain.com/sample-post. Make sure to do this before adding any content – changing it later can cause broken links and hurt your search rankings.
Finally, clean up your site by deleting default content. Go to Posts > All Posts to remove the “Hello World!” post, and under Pages > All Pages, trash the “Sample Page.” Don’t forget to delete the placeholder comment too. This small step makes your site look polished and professional from day one.
With these basics in place, your WordPress setup is complete and ready for customization. Next, you’ll choose a theme to match your brand and give your site a polished look.
How To Make a WordPress Blog – Step by Step
Step 3: Select and Customize a WordPress Theme
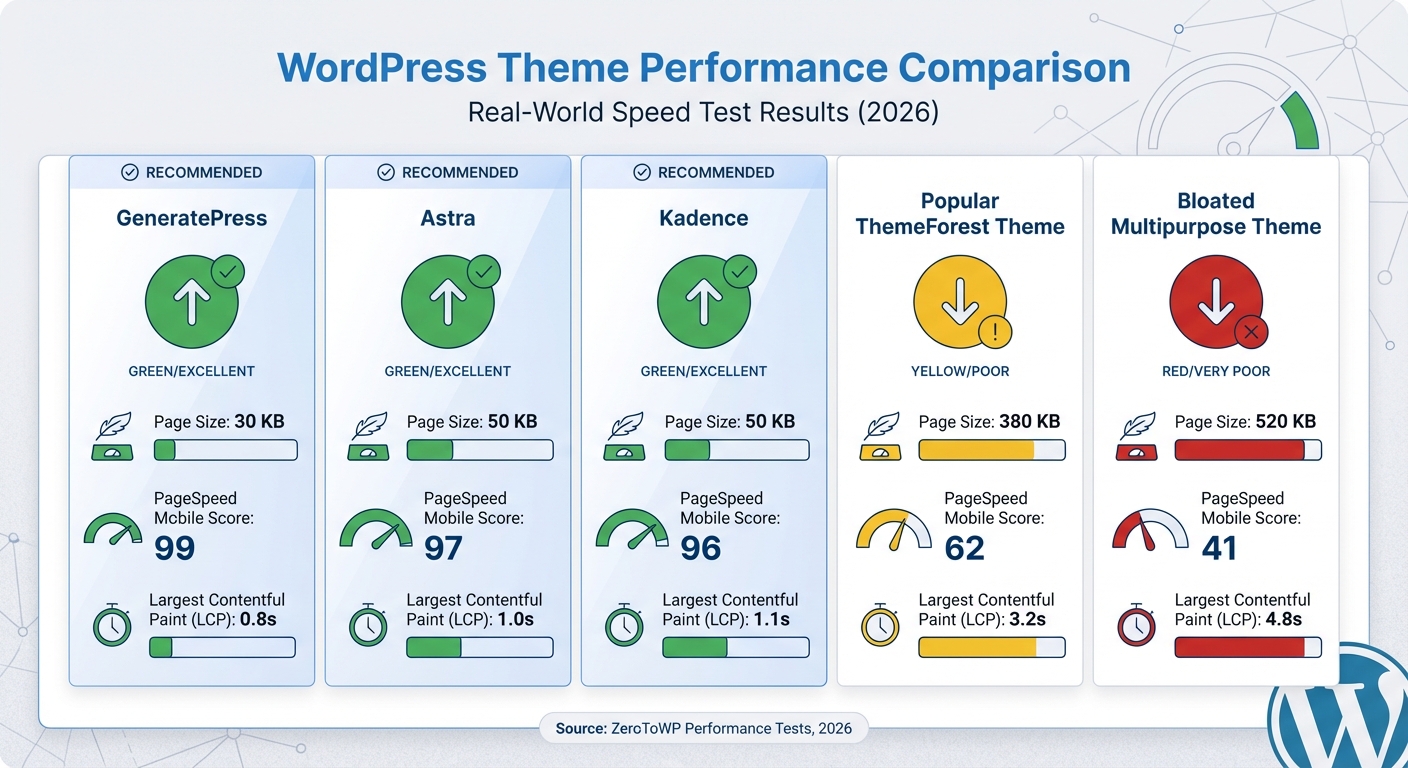
WordPress Theme Performance Comparison: Page Size and Speed Metrics
What to Look for in a WordPress Theme
Your theme sets the tone for your website – it needs to look great and work seamlessly. As Marvin from ZeroToWP explains:
“Your theme isn’t just decoration. It’s the first impression your website makes, and first impressions determine whether people stick around long enough to actually read what you’ve written” [5].
When choosing a theme, reliability is key. Opt for themes that have been updated within the last 6 months, have at least 100,000 active installations, and hold a 4.5+ star rating [5]. These indicators show the theme is actively supported and trusted by others.
Avoid themes that are overly bloated. Some can add over 500KB to your site, slowing load times by 2–4 seconds [5]. With more than 60% of web traffic coming from mobile devices, it’s essential to pick a mobile-responsive theme with touch-friendly navigation [5].
Themes like Astra (with over 1 million active installations) and Kadence (around 300,000 active installations) offer starter templates that allow you to import professional layouts with a single click [5]. Also, ensure your theme works with the native WordPress block editor or Full Site Editing (FSE). This avoids relying on third-party page builders, which can slow down your site [5].
Here’s how some popular themes perform in real-world tests:
| Theme | Page Size | PageSpeed Mobile Score | Largest Contentful Paint (LCP) |
|---|---|---|---|
| GeneratePress | 30 KB | 99 | 0.8s |
| Astra | 50 KB | 97 | 1.0s |
| Kadence | 50 KB | 96 | 1.1s |
| Popular ThemeForest Theme | 380 KB | 62 | 3.2s |
| Bloated Multipurpose Theme | 520 KB | 41 | 4.8s |
(Source: ZeroToWP Performance Tests, 2026) [6]
How to Install and Customize a WordPress Theme
Installing a WordPress theme is straightforward. Head to your dashboard and navigate to Appearance > Themes > Add New. From there, you can search for free themes or upload a theme file. Once you find the right one, click Install and then Activate. Use the Feature Filter to narrow down themes by layout or subject.
For premium themes, you’ll need to upload the installable ZIP file. Go to Appearance > Themes > Add New > Upload Theme, select the file, and click Install Now. Be sure to upload the correct ZIP file that contains only the theme, not the full package with extras like documentation.
After activating your theme, you can start customizing it. Use Appearance > Customize for classic themes or the Site Editor for block themes. Begin with the essentials: upload a 512×512 pixel site icon, set your site title and tagline, and pick a color palette. Stick to two fonts – one for headings and one for body text – to maintain a clean and professional look. For better readability, use dark gray (#333333) instead of pure black for body text.
Keep your navigation menu simple. Include only the most important links like Home, About, Blog, and Contact. Always check the mobile preview toggle to ensure your design looks great on smartphones. Once your theme is ready, move on to Step 4 to install plugins that will improve your site’s functionality and security.
Step 4: Install Plugins for Functionality and Security
Once your theme is customized and your site looks polished, it’s time to add plugins to boost functionality and keep things secure. Plugins are like apps for your WordPress site – they add features, but they can also slow things down or create security risks if you’re not careful. As Marvin from ZeroToWP puts it:
“Every plugin you install adds PHP code that runs on every single page load. More plugins means more code, which means slower load times, more potential security vulnerabilities, and more things that can break” [8].
Stick to around 7–10 essential plugins, with a hard limit of 15, to keep your site fast and secure.
Choose plugins that address specific needs like security, SEO, performance, backups, and spam protection. Avoid installing multiple plugins for the same task – this can cause conflicts and slow down your site. Before you install a plugin, make sure it’s been updated in the last three months, has at least 10,000 active installations, and holds a 4+ star rating [11].
Top Plugins for Beginners: Covering the Basics
To get started, focus on these six categories of plugins. They’ll handle the essentials without bogging down your site:
- Security: Protect your site from hacks. With 30,000 websites hacked daily [9], Wordfence Security is a must. It offers real-time firewall protection and malware scanning to block threats before they can harm your site [8].
- SEO: Help search engines understand your content. Rank Math is a popular choice over Yoast SEO because its free version includes advanced tools like multiple focus keywords and redirect management [8].
- Performance: Speed up your site. LiteSpeed Cache works best if your hosting uses LiteSpeed servers, delivering server-level caching for faster page loads [8]. If not, Jetpack Boost is a solid alternative for improving Core Web Vitals.
- Backups: Prevent data loss. UpdraftPlus (used by over 3 million sites) automates backups and sends them to cloud services like Google Drive or Dropbox [8]. Avoid storing backups on your web server – if the server crashes, you’ll lose everything.
- Spam Protection: Keep your comments section clean. Akismet Anti-Spam, which comes pre-installed, blocks millions of spam comments every hour [7]. Activate it to stop bots from cluttering your site.
- Image Optimization: Shrink image files without losing quality. Tools like ShortPixel or Imagify can reduce file sizes by 60–80%, improving load times [8]. ShortPixel offers 100 free compressions per month, with paid plans starting at $3.99/month for 7,500 images [8].
| Category | Recommended Plugin | Key Benefit |
|---|---|---|
| SEO | Rank Math or AIOSEO | Optimizes content for search engines. |
| Security | Wordfence | Real-time firewall and malware protection. |
| Performance | LiteSpeed Cache or Jetpack Boost | Speeds up load times and boosts performance. |
| Backup | UpdraftPlus | Automatic backups to cloud storage. |
| Spam | Akismet | Blocks spam comments effectively. |
| Images | ShortPixel or Imagify | Compresses images for faster loading. |
Once you’ve picked your plugins, install and configure them through your WordPress dashboard.
How to Install Plugins from the WordPress Dashboard
Installing plugins is quick and straightforward. From your WordPress dashboard, go to Plugins > Add New Plugin. Use the search bar to find the plugin you want, then click Install Now. Once installed, click Activate to turn it on [10].
If you’ve purchased a premium plugin, you’ll receive a .zip file. In this case, click Upload Plugin at the top of the Add New Plugin page, then select the .zip file from your computer. Click Install Now, then Activate Plugin when the upload is complete.
Always create a full backup of your site before installing any plugin. After activation, configure the plugin’s settings. For example, Rank Math will guide you through a setup wizard to connect your site to Google Search Console and generate a sitemap.
Finally, remove any plugins you’re not using to reduce security risks [11] [8]. Update your active plugins regularly to fix vulnerabilities and improve performance. With your plugins installed and fine-tuned, you’re ready to move on to Step 5: creating pages and publishing your first post.
Step 5: Create Pages and Publish Your First Post
Now that your site is secure and running smoothly, it’s time to focus on creating the essential content your visitors will see. WordPress organizes content into two main types: Pages (static content like About or Contact) and Posts (blog entries that appear chronologically). Knowing the difference helps you structure your site effectively.
Make sure your permalinks are set to the “Post name” format for cleaner URLs. This not only looks better but also helps with SEO and makes your links easier to share.
Essential Pages: About, Contact, and Privacy Policy
Every blog needs a few key pages to look complete and professional: Home, About, Contact, and Privacy Policy.
- The About page tells visitors who you are and what your blog is about. Keep it personal and relatable.
- The Contact page gives readers a way to reach you. Plugins like WPForms or Contact Form 7 make adding contact forms quick and easy.
- The Privacy Policy page is a legal requirement if your site collects any visitor data (like through analytics or contact forms). WordPress simplifies this by offering a basic template under Settings > Privacy.
To create a page, go to Pages > Add New Page in your WordPress dashboard. Enter a title in the “Add title” field, then use the + (plus) button to add text, headings, images, or other content blocks. Once you’re satisfied, click Publish in the top-right corner to make it live.
These foundational pages not only provide essential information but also establish trust with your audience. Once they’re live, you’ll be ready to dive into creating blog posts.
Writing and Publishing Your First Blog Post
“Your first post doesn’t need to be a masterpiece. It needs to exist.” – Marvin from ZeroToWP
To publish your first blog post, go to Posts > Add New Post in your dashboard. Start with a strong, keyword-rich title. Break your content into short paragraphs and use H2 or H3 subheadings to make it easy to read. Add a featured image (at least 1,200 pixels wide) to grab attention.
Take advantage of WordPress tools to optimize your post:
- Categorize your post and add relevant tags for better organization.
- If you installed an SEO plugin like Rank Math, fill in the meta description (150–160 characters) and add alt text to your images.
When you’re done, click Publish to make your post live, or use Schedule to set a specific future publish date.
Blogging consistently can make a big difference. Businesses that blog regularly generate 67% more leads than those that don’t [1]. Even starting with one post per month can help you build momentum and grow your audience.
Your Next Step: Grow Your Blog and Business with Turbify
Your WordPress blog is live – now it’s time to focus on growth. The goal is to turn your blog into a valuable part of your business.
Start by adding ecommerce to your blog. With the WooCommerce plugin, you can sell physical products, digital downloads like ebooks or software, or even subscription services [2][12]. If you’re only selling digital products, Easy Digital Downloads is another option to consider [12].
Think about monetizing and expanding your audience. As your traffic increases, Turbify’s hosting plans can scale with you to ensure your site stays fast [3]. For local businesses, tools like Localworks can help you manage your online reputation across 70+ directories. Optimizing your blog for local search and Answer Engine Optimization (AEO) ensures that potential customers find you when they’re searching for solutions [13].
Use your blog to build trust, attract leads, and boost revenue. With Turbify’s seamless integration, you can add features and tools without juggling multiple platforms or complicated systems.
FAQs
Do I need WordPress.com or WordPress.org?
The main distinction lies in hosting. WordPress.com is a hosted platform – they take care of hosting for you, making it a straightforward option for beginners. It’s an all-in-one solution where you can quickly set up a site without worrying about technical details.
WordPress.org, however, is self-hosted. You download the free software and install it on your own hosting service. This gives you far more control, flexibility, and room to grow, but it also requires a bit more technical know-how.
If you’re after simplicity and convenience, WordPress.com is a great choice. But if you want complete control over your site and the ability to scale as your business grows, WordPress.org is the way to go.
What should I do right after installing WordPress?
After installing WordPress, the first thing to do is set up your site settings. This includes choosing a site title, crafting a short tagline, and selecting a permalink structure (how your URLs will look). These small tweaks make sure your site is easy to navigate and looks professional.
Next, install a few must-have plugins to keep your site secure and running smoothly. Look for plugins that handle security, backups, and SEO (search engine optimization). These tools help protect your site, save your data, and improve your visibility online.
Getting these basics right creates a solid starting point for your blog or website before diving into content creation or design tweaks.
Which plugins are truly essential for a new blog?
When starting a WordPress blog, you’ll want plugins that cover the basics: SEO, security, performance, and user engagement. Here’s a quick rundown:
- SEO Plugin: Tools like Yoast SEO help improve your site’s visibility on search engines by optimizing your content and meta tags.
- Security Plugin: Wordfence protects your site from potential threats like hacking and malware.
- Caching/Performance Plugin: Plugins such as WP Super Cache speed up your site by storing static versions of your pages, making them load faster for visitors.
- Contact Form Plugin: WPForms makes it easy for readers to get in touch with you through customizable forms.
These plugins will give your blog a solid start while ensuring it runs smoothly and stays secure.